Website contact forms

We use a premium contact form software called WPForms to bring the best experience for our clients and their customers.

what is a contact form?

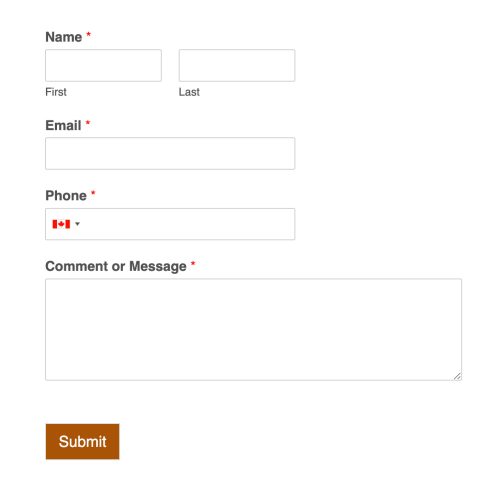
A contact form is a way for people to send you a message on your website.

The contact forms on your website have been setup to send the messages received to one or more specific email addresses.

When someone fills out a contact form and clicks the Submit button, the message is sent to the email addresses that have been configured in the contact form software (WP Forms) in the backend of your website.

Basic contact form

contact form software features

In addition to automatically emailing the form content, a copy of each form is saved in the backend of your website. To access the entries, go to the backend of your website:

  1. Login to your website and access the Dashboard
  2. From the main Dashbaord menu:
  3. Click WPForms > Entries
  4. Click on the form that you want to view the entries for
wp forms logo

TROUBLESHOOTING

are the messages landing in your junk folder?

Sometimes your email account will filter the messages and put them into your Junk or Spam folder. If this happens please complete the following steps:

Outlook
  1. Locate the message in your Junk or Spam folder
  2. Right click on the message and click Report > Not junk
    • or open the message and click the Mark as Not Junk button in the upper right of the window
  3. Now, go to your website and to the page that has a contact form
  4. Complete the form and submit it
  5. Wait a couple of minutes and check your email
  6. If the message arrives in your inbox, great! The next messages should go directly to your inbox as well.
Outlook.com
  1. Open your Junk Email folder and select the messages you want to keep.
  2. From the top toolbar, select Not junk > Not junk (or Not spam > Not spam). You can also open the message and select the It's not junk link at the top.
  3. If you've blocked someone by mistake, open your Blocked senders list and select the Remove next to their name.
  4. Add the sender to your Safe senders list.
  5. Now, go to your website and to the page that has a contact form
  6. Complete the form and submit it
  7. Wait a couple of minutes and check your email
  8. If the message arrives in your inbox, great! The next messages should go directly to your inbox as well.

are the messages still going to the junk folder?

To further stop your contact form emails from going to junk, we can set them up to go through an email service provider so that they’re properly authenticated and sent using SMTP instead of the default PHP method. This means the messages will be sent using a third party email service instead of the website server, making them more likely to land in the inbox instead of the Junk folder.

Please contact us or use the instructions below (for the experienced and more savvy users only):

  1. Create an account at Brevo, a third party sending service.
  2. Once your Brevo account is created, you'll be asked to verify your account with an email sent to the address used to sign up.
  3. Then navigate to Senders, Domains & Dedicated IPs by clicking on your profile in the upper right corner of the window.
  4. Click on Domains, then View Configuration
  5. Add the provided DNS records to your domain, keeping this window open
  6. Once you've added the records, return to the DNS records screen in Brevo and click Check Configuration
  7. If the values all match, great! Keep your Brevo account open, as well need one more thing from there.

Go back to your website to connect your Brevo account

  1. Access the backend of your website and navigate to Plugins > Add New Plugin
  2. In the Search box, type WP Mail SMTP
  3. Click Install Now next the WP Mail SMTP Plugin
  4. Click Activate, once installed
  5. Navigate to WP Mail SMTP > Settings
  6. Scroll down to Primary Connection and click Launch Setup Wizard
  7. Follow the prompts
  8. Ensure your From Email is setup
  9. Ensure your From Name is setup


  1. Add the Brevo API Key
    1. Go to your Brevo account
    2. Navigate to SMTP & API under your profile menu in the upper right of the screen
    3. Click the API Keys tab
    4. Create an API key and copy the value
    5. Navigate back to your website and add the API Key
  2. Add the Sending Domain and you're done!
  3. Now, send a Test:
    1. Navigate to WP Mail SMTP > Tools from your website's dashboard menu
    2. Enter your email address into the Send To box
    3. Click Send Email

and you're done!

If you're still experiencing problems, please contact us.