FAQ
 Drag & Drop Editor
- Modules Overview
- Accordion Module
- Audio Module
- Button Module
- Callout Module
- Call to Action Module
- Contact Form Module
- Content Slider Module
- Countdown Module
- Gallery Module
- Heading Module
- HTML Module
- Icon Module
- Icon Group Module
- Link to a PDF
- Map Module
- Menu Module
- Number Counter Module
- Photo Module
- Posts Carousel Module
- Posts Module
- Posts Slider
- Pricing Table Module
- Text Editor Module
- Separator Module
- Sidebar Module
- Slideshow Module
- Subscribe Form Module
- Tabs Module
- Testimonials Module
- Video Module
How to use The Event Calendar
On this page, jump to:
How to Add a New Event
If your website has The Event Calendar installed then you're website is ready to promote events.
Some features may differ from below
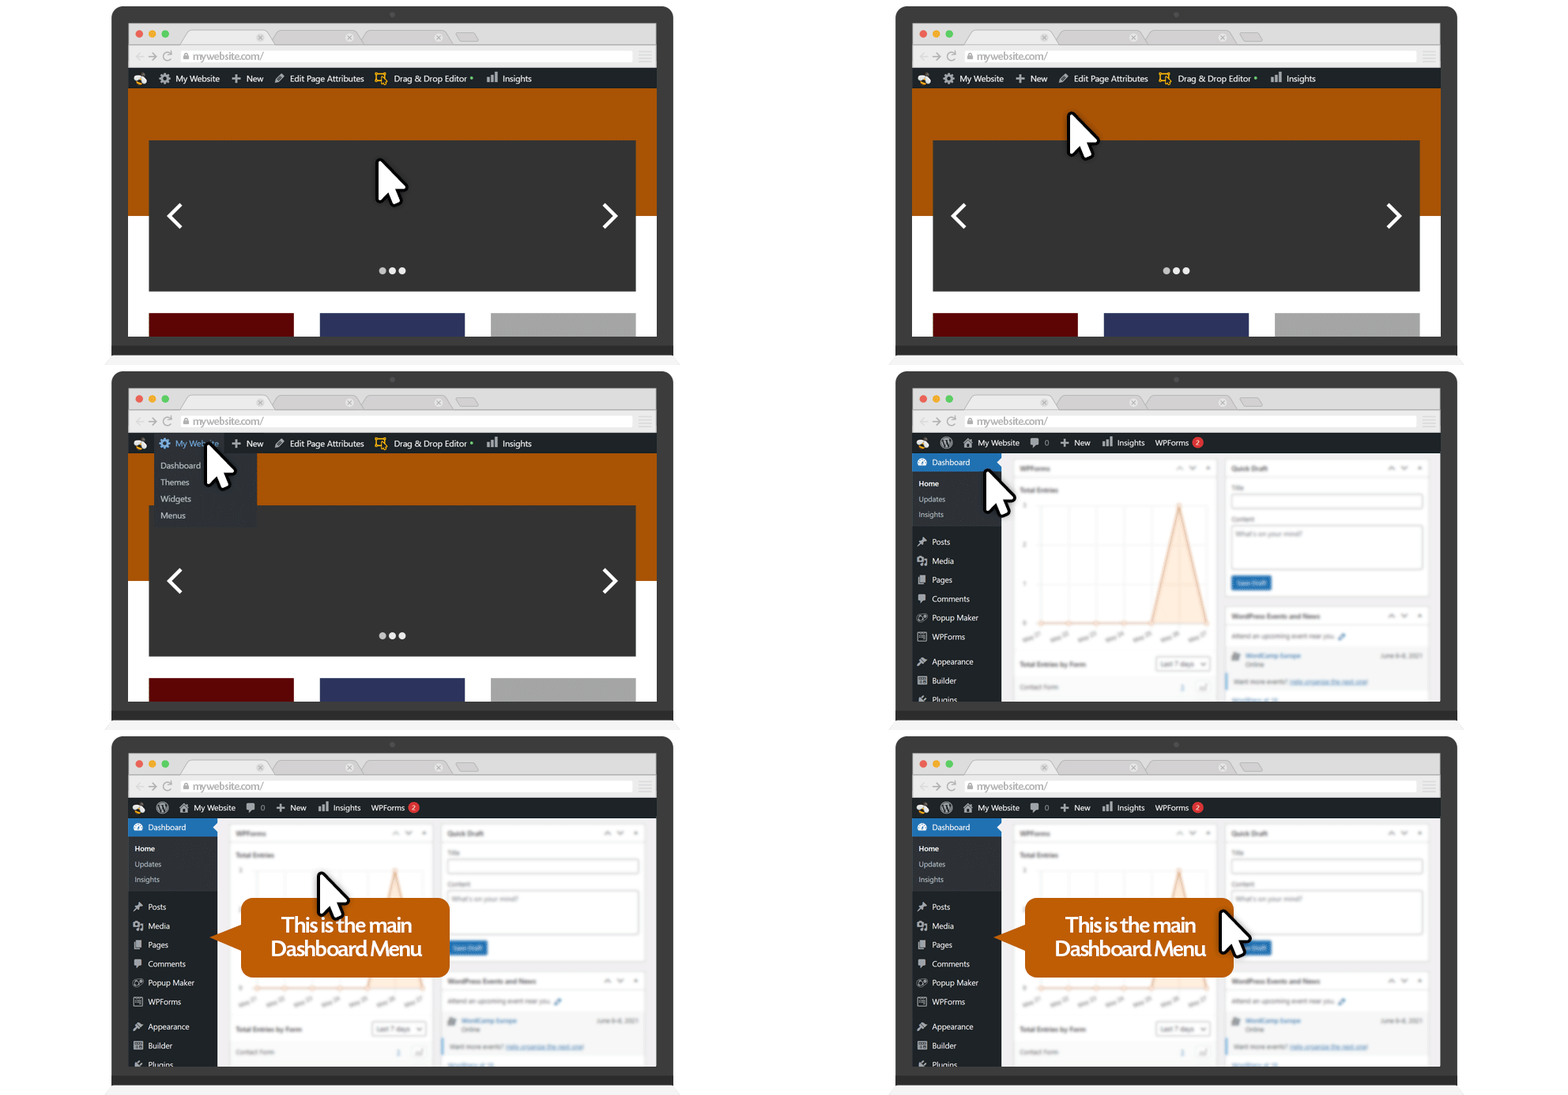
- Go to the Dashboard of your website (the home page for the back end of your website).

- Using the main menu on the left, hover over Events.
- Click add Add New.
In the main content area, add the Event Details...
- Type a Title
- Enter the Date and Time
- Optionally enter a Price
- Optionally enter an Organizer
- Enter the Venue
- Optionally enter an Event Website
In the settings area on the right side of the screen...
- Optionally choose or add a New Event Category
- Set a Featured Image, optional but recommended
At the top of the screen, choose to Save and or Publish the Event...
- Click Publish when done
- Click Save draft to save the Event
Add, Edit or Delete a Venue
- Using the main menu on the left, hover over Events
- Click Venues
- Hover over the Venue that you want to Edit
- Click Edit, or Trash
Add or Edit Event Organizers
- Using the main menu on the left, hover over Organizers
- Click Organizers
- Hover over the Organizer that you want to Edit
- Click Edit, or Trash
Add or Edit Event Categories
- Using the main menu on the left, hover over Event Categories
- To Add a new Event Category, under Name, Type a Name for your Event Category
- or Hover over the Event Category that you want to Edit
- Click Edit, or Trash