FAQ
 Drag & Drop Editor
 Drag & Drop Editor
🔐 Setting up Microsoft MFA for the First Time
-
Sign in to your Microsoft 365 account
-
Enter your new Microsoft email address (e.g., yourname@yourdomain.com) and temporary or assigned password.
-
You’ll be prompted to set up additional security (this is MFA).
-
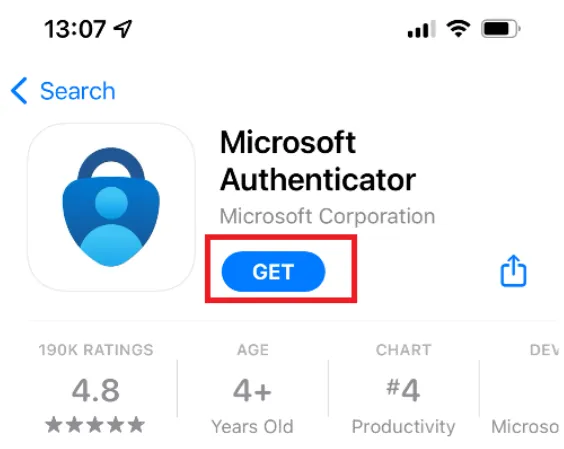
Download the Microsoft Authenticator app
-

-
On your mobile phone, open the App Store (iPhone) or Google Play Store (Android).
-
Search for Microsoft Authenticator and install it.
-
Do not sign in inside the app yet—just leave it open.
-
-
Set up the Authenticator connection
-
On your computer, you’ll see the message “More information required” → click Next.
-
Choose Mobile app if prompted, then select Receive notifications for verification → click Next.
-
You’ll see a QR code on your screen.
-
-
Scan the QR code
-
Open the Microsoft Authenticator app on your phone.
-
Tap the + (Add Account) → choose Work or school account.
-
Point your phone’s camera at the QR code on your computer screen.
-
The account will appear in your app.
-
-
Approve the test notification
-
Microsoft will send a test prompt to your phone.
-
Tap Approve when it appears in the Authenticator app.
-
-
Finish setup
-
Once approved, you’ll see “Success!” on the computer.
-
Click Next → enter a backup phone number (optional but recommended).
-
Click Done to complete setup.
-
🧠 Tips
-
Each time you sign in on a new device or browser, you’ll get a prompt on your phone to Approve or Deny.
-
You can choose “Don’t ask again for 30 days” on trusted devices.
-
If you ever get a prompt you didn’t initiate, press Deny immediately — it may mean someone else has your password.
-
If you replace your phone, you’ll need to re-register MFA from a trusted computer (so keep your backup methods current).