FAQ
 Drag & Drop Editor
Realtor Tools
ON THIS PAGE
listing showcases
To edit an existing Listing Showcase:
The coding for Listing Showcases is copied and pasted onto the page of your choice from the My Real Page module. The My Real Page module is accessed from the back end of any page.
- Once you're logged into your website, go to the page that the listing showcase is on.
- Click the Edit Page Attributes button at the top of the window
- Click the blue plus icon in the upper left corner
- Type Myrealpage in the search box and click on the result
- Then click the Retrieve myRealPage Shortcode button that appears
A popup will open, login to MyRealPage, if you are not already logged in
- Click Listing Tools in the upper Left corner
- Click Listing showcases
- Click Edit showcase under the saved showcases
- On the left side of the screen click the tabs to find the properties that you want to add
- Click the Select word next to individual listings or click the Select word at top to add the listings as a group and refine them after
- Then you'll see you choices on the right
- Edit them as desired my either choosing a selection from the dropdown menu for showing Sold Listings etc.
- You can click and Drag the Listings to change their order.
Once you've got the Listings that you want showing on the right side of the window:
- Click the Drag & Drop Editor button at the top of the page
- Click Next
- If desired, edit the custom sort and shuffle listings settings
- Click Finish
- Click Get embed code
- Copy the code shown in the new window
- Then close all the popup windows
- Click View Page at the top of the window
- Leave without saving the changes
Then go back and paste the code:
- Scroll to the Listing Showcase and click on it
- Paste the code you copied into the window that opens
- A glitch prevents the listings from displaying initially
- Click Done in the upper right corner
add a listing to a page or post
To add a single listing to a page or post
- Log into your website, go to the page or post that you want the listing to appear on. Or add a new page or add a new post for the listing.
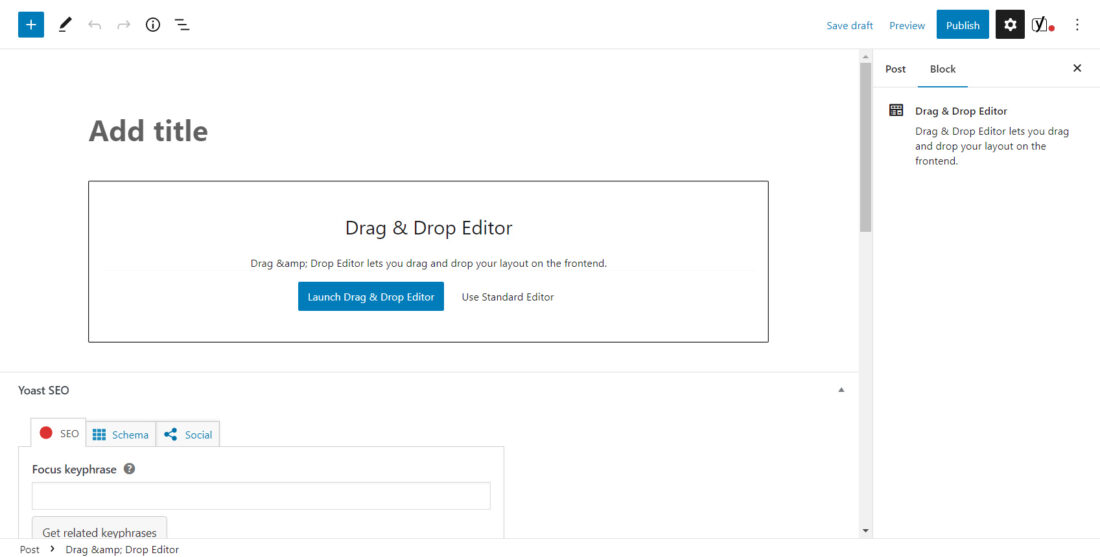
- In the default WordPress Editor (as shown below)
- Type a Title for the Page or Post.
- Click the blue plus icon in the upper left corner
- Type Myrealpage in the search box and click on the result
- Then click the Retrieve myRealPage Shortcode button that appears

A popup will open
- Login to MyRealPage, if you are not already logged in.
- You'll then see the options below:
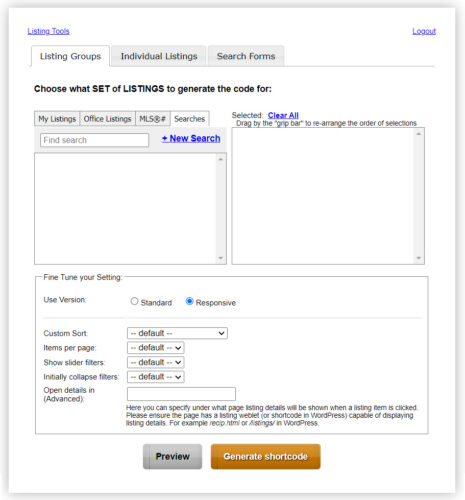
- Click My Listings
- Then click Select next to the listing that you want
- Leave all the settings as is (they don't apply to single listings)
- Click Generate Shortcode
- Copy the code provided
You can keep the MyRealPage window open...
- Back in the default WordPress Editor (as shown below)
- Click Launch Drag & Drop Editor or Use Standard Editor to continue using the default WordPress editor.
- Once the Drag & Drop Editor has launched
- Click the blue plus icon in the upper right corner
- Click and drag the HTML module onto the Page or Post
- Paste the code that you copied from the MyRealPage window into the HTML Module window.
Due to a glitch in the software you'll need to refresh the page or save the page and reload the editor. To do this follow the instructions below.
- Click Done in the upper right corner.
- Then hit F5 on your keyboard or click the reload button in your browsers toolbar to reload the page.
- Click the Drag & Drop Editor again to add more content to the post or page.
- Click Done then Publish when you're done.